Home>Storage Ideas>Storage Shelves>10 Best Craft Room Organizers And Storage For 2024
Storage Shelves
10 Best Craft Room Organizers And Storage For 2024
Modified: January 6, 2024
Discover the top 10 craft room organizers and storage solutions for 2023. Maximize your space and keep your supplies organized with these must-have products.
(Many of the links in this article redirect to a specific reviewed product. Your purchase of these products through affiliate links helps to generate commission for Storables.com, at no extra cost. Learn more)
Introducing the ultimate guide to the top 10 craft room organizers and storage solutions for 2023. If you're a dedicated crafter or DIY enthusiast, having an organized and efficient space is essential to unleash your creativity. With the numerous tools, materials, and projects that accumulate over time, it becomes crucial to invest in quality storage options that can effectively sort and store your supplies. In this comprehensive list, we will explore the best craft room organizers available, offering you practical and stylish solutions to keep your crafting haven tidy and inspiring. Say goodbye to clutter and frustration, and discover the 10 best craft room organizers and storage for 2023.

Overall Score: 8.5/10
The SAIVEN Vinyl Roll Holder is a high-quality and durable storage solution for craft vinyl rolls. Made of thick, tear-resistant PVC material, this organizer can hold up to 52 rolls of vinyl, providing a neat and organized work space. The independent pockets allow for easy access to individual rolls without disturbing the rest. It can be easily hung on a closet, hook, door, or wall, offering versatility in storage options. The clear design allows for quick and easy identification of stored items. This vinyl roll holder is not limited to vinyl storage, as it can also accommodate diamond painting, ribbon, gift wrap, and more. Overall, it is a convenient and functional storage solution for craft enthusiasts.
Key Features
- Made of thick, tear-resistant PVC material
- Holds up to 52 rolls of vinyl
- Independent pockets for easy access
- Can be hung on various surfaces
- Clear design for quick identification
- Suitable for various types of crafts
Specifications
- Color: 52 HOLE
Pros
- Durable and high-quality material
- Large capacity for multiple rolls
- Easy access to individual rolls
- Versatile hanging options
- Clear design for easy identification
- Multipurpose storage solution
Cons
- Difficulty in fitting larger rolls
- Edges of rolls sometimes get caught in the loops
The SAIVEN Vinyl Roll Holder is a reliable and efficient storage solution for craft vinyl rolls. With its sturdy construction and ample capacity, it provides a neat and organized space for craft enthusiasts. The independent pockets and clear design enhance accessibility and convenience. While it may have some limitations with larger rolls, it excels in its functionality and versatility. Whether you need to store vinyl, diamond painting supplies, or gift wrap, this vinyl roll holder proves to be a valuable addition to any craft room or workspace. Say goodbye to rummaging through cluttered carts and folders, and embrace a tidy DIY environment with the SAIVEN Vinyl Roll Holder.

Overall Score: 8.5/10
The CERBIOR Drawer Dresser Closet Storage Organizer is a high-quality storage solution made of sturdy materials. With 7 removable drawers, it provides ample room for storing clothes, toys, and household items. Its slim design and solid work surface make it versatile and perfect for small spaces. The dresser is easy to assemble and transport, thanks to its flat packaging. However, some customers have reported a chemical smell when opening the drawers, and it may be smaller than expected. Overall, this drawer dresser offers stylish and smart storage for any room in your home.
Key Features
- -High-quality Material: Made of high-quality metal frame structure, non-woven fabric drawer, and Eco-friendly MDF top
- -7-Removal Drawer: Size–11.4”x31.5”x30.9” high, roomy drawer for organized storage
- -STYLISH SMART STORAGE: Slim design with a solid work surface on top
- -FUNCTIONAL & VERSATILE: Ideal for various rooms and small spaces
- -Flat package: Easy to transport with secure packaging
Specifications
- Color: Multicolored
- Dimension: 11.40Lx31.50Wx30.90H
- Size: 7-mixture Drawers
- Unit count: 1
Pros
- High-quality and durable materials
- Ample storage space
- Slim design fits in small spaces
- Versatile and functional
- Easy to assemble and transport
Cons
- Chemical smell when opening drawers
- Smaller than expected
- Assembly may be challenging for some
The CERBIOR Drawer Dresser Closet Storage Organizer is a practical and stylish choice for organizing your belongings. Despite a few minor drawbacks, such as a chemical smell and smaller size, the dresser offers durable construction and ample storage space. Its slim design fits well in smaller spaces, making it versatile for various rooms in your home. Easy to assemble and transport, this drawer dresser is a great option for those looking to add a touch of style to their organizational needs. Overall, it provides a functional and attractive storage solution for any home.

Overall Score: 8/10
Organize your vinyl rolls with this high-quality storage rack. Made of durable polyester fabric and PVC material, it can hold up to 24 rolls of vinyl, allowing you to easily see and access your collection. With its 24 compartments, each capable of holding 2-3 rolled vinyl sheets, you can keep your vinyls neatly organized and choose your colors with ease. The rack can be wall-mounted or hung behind a door, saving you valuable space in your craft room. Say goodbye to clutter and hello to a more efficient and visually appealing storage solution with this vinyl roll storage rack.
Key Features
- High Quality: Made of polyester fabric and thickened PVC material
- Large Capacity: Holds up to 24 rolls of vinyl
- 24 Compartment Organizer: Each slot holds 2-3 rolled vinyl sheets
- Great Space Saver: Can be wall-mounted or hung behind a door
- Less Clutter in Craft Room: Perfect for organizing and easily accessing vinyl rolls
Specifications
Pros
- Durable and well-built
- Ample storage capacity
- Easy to see and access vinyl rolls
- Versatile hanging options
- Organizes and declutters craft room
Cons
The Vinyl Roll Storage Rack with 24 Compartments is a must-have for anyone working with vinyl rolls. Its high-quality construction and large capacity make it a reliable and convenient storage solution. The 24 compartments allow for easy organization and quick access to your vinyls, while the space-saving design ensures your craft room stays clutter-free. Whether you’re a professional crafter or a hobbyist, this vinyl storage rack will streamline your workflow and enhance your creative process. Say goodbye to searching for misplaced vinyl rolls and hello to a more efficient and visually appealing craft space.

Overall Score: 8/10
The 90L Large Storage Bags are made of soft and high-quality fabric that is designed to store different kinds of items, from bed sheets to toys. The storage bags are also equipped with reinforced, durable handles that can withstand heavy weights. They are portable, foldable, and easy to use. The storage bags also come with a see-through front window that enables quick viewing of stored items. Additionally, the storage bags have two-way zippers that help easily slide along the closure when in use regardless of how full they are. These storage bags are perfect to be placed under the bed or in the closet to keep your items organized and tidy.
Key Features
- 90L storage capacity
- Soft material and reinforced handle
- Portable and zipper closure
- Made of upgraded material
- Multifunctional and foldable
Specifications
- Color: Grey
- Dimension: 23.62Lx17.72Wx13.78H
- Size: 6 Pack
- Unit count: 6
Pros
- Large and spacious
- Durable handles
- See-through front window
Cons
- Flimsy zippers
- Not sturdy enough
- No boning inside to support the bags
The 90L Large Storage Bags are perfect for those looking for a simple and affordable solution to organize their space. The bags have a large 90L capacity and are made of soft, upgraded material, making them durable enough to withstand heavy weights. They also have reinforced handles and a see-through front window for easy viewing. Although the zippers are flimsy and the bags are not sturdy enough to hold their shape on their own, they are still a great way to keep your items in one place. Overall, these storage bags are a good value for the price.

Overall Score: 8.5/10
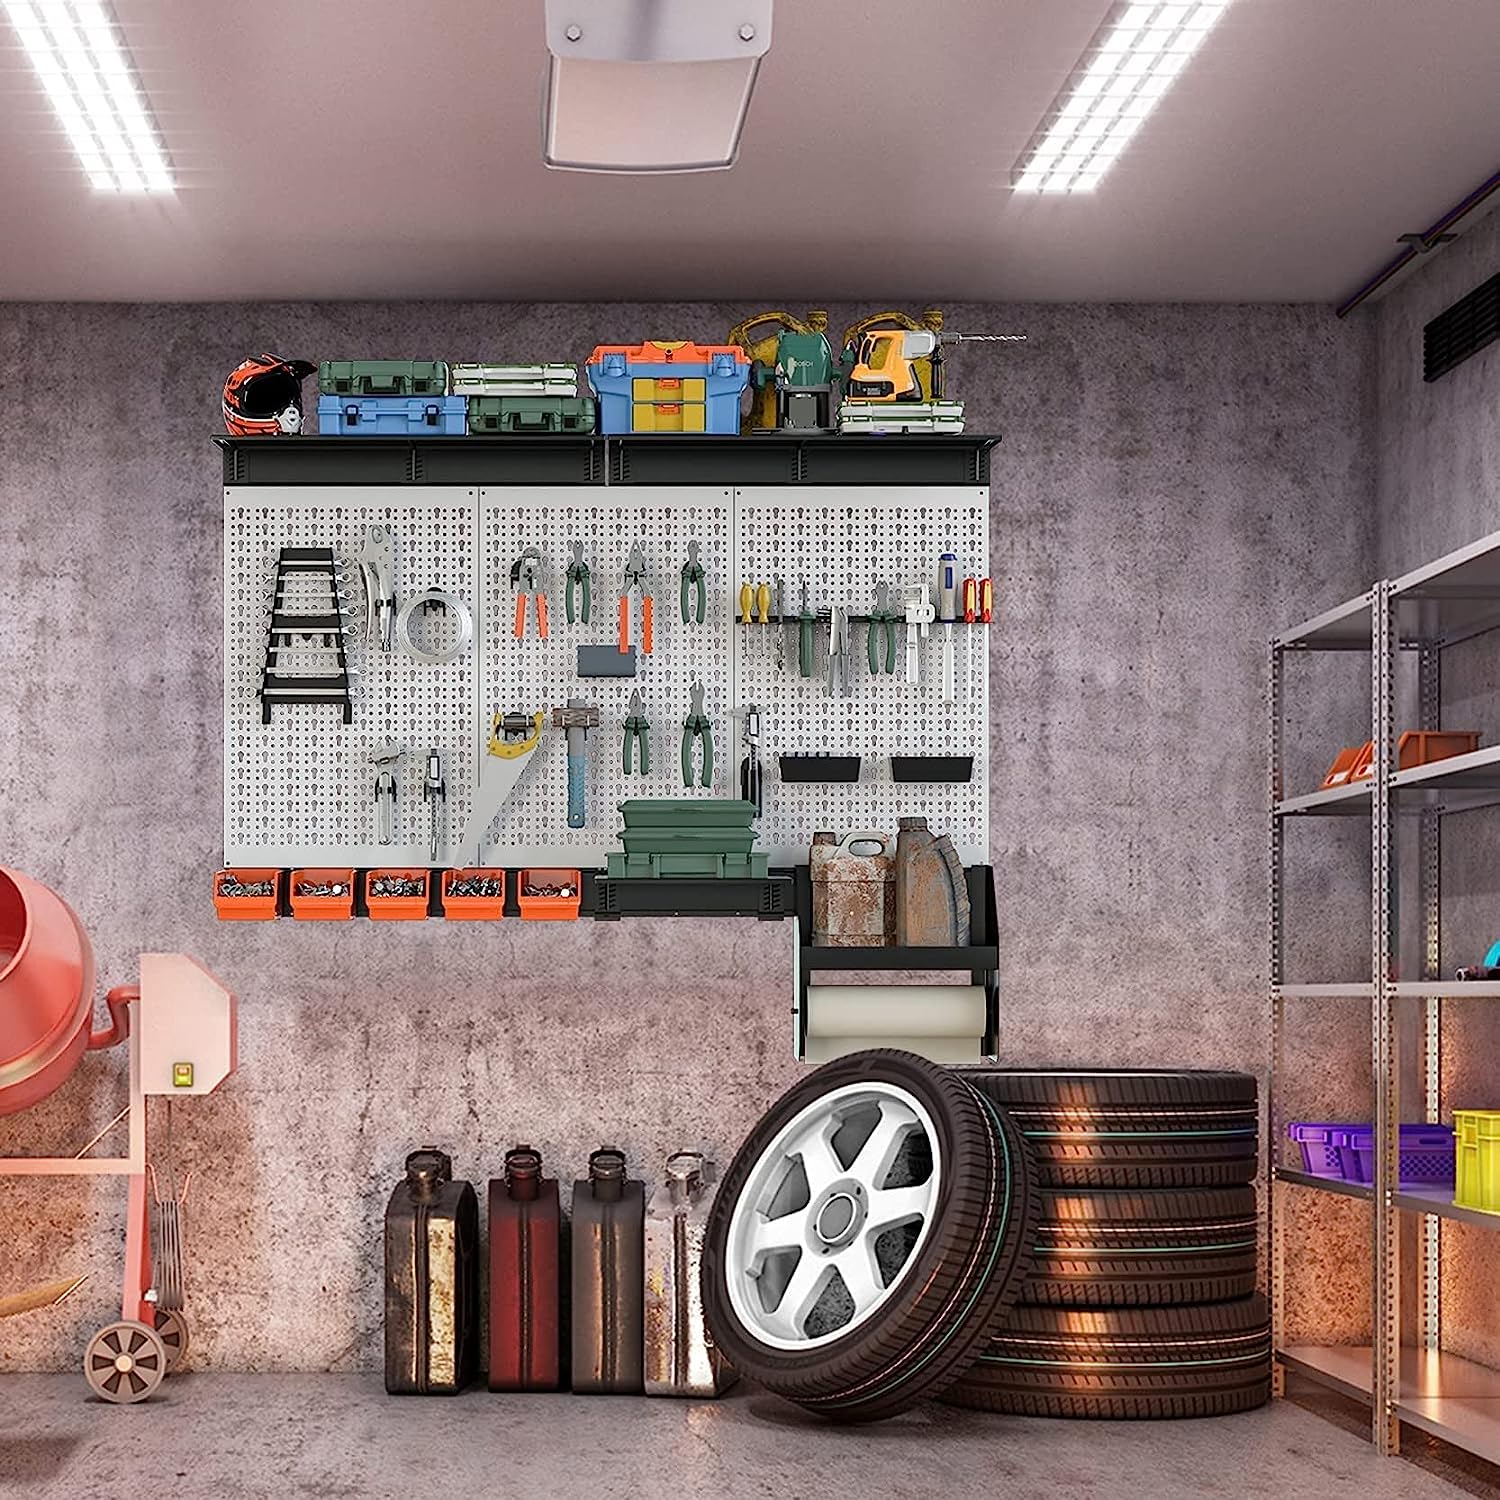
The Cabilock 2pcs Peg Board Rack is a versatile storage solution that allows you to make the most of your wall space. Made of durable plastic, these peg boards are perfect for organizing small items in your office, craft room, or garage. With an adhesive design, they can be easily stuck to any smooth surface, making installation a breeze. These lightweight but sturdy peg boards have smooth edges that won't scratch your walls and can be easily rearranged to suit your needs. They are available in a set of two, providing ample storage space for all your essentials. Say goodbye to clutter and hello to an organized space with the Cabilock 2pcs Peg Board Rack.
Key Features
- Adhesive design for easy installation
- Durable and practical plastic material
- Space-saving wall mount design
- Lightweight and sturdy
- Smooth edges for scratch-free use
- Multi-functional pegboard shelf
Specifications
- Color: White x 2pcs
- Dimension: 11.51Lx11.51Wx0.78H
- Size: 41.5×29.5 cm x 2pcs
Pros
- Easy to install with adhesive design
- Durable and wear-proof material
- Space-saving solution
- Versatile functionality
- Smooth edges prevent scratching
Cons
- May not be suitable for heavy items
- Limited color option
The Cabilock 2pcs Peg Board Rack is a highly practical and versatile storage solution that can help you declutter your space and make the most of your wall space. Made of durable plastic, these peg boards are lightweight yet sturdy, and their adhesive design makes installation a breeze. With smooth edges and a space-saving wall mount design, they provide both functionality and convenience. While they may not be suitable for heavy items, these peg boards are perfect for organizing smaller essentials in your office, craft room, or garage. Say goodbye to clutter and hello to an organized space with the Cabilock 2pcs Peg Board Rack.

Overall Score: 8/10
The HGYZE Peg Boards for Walls with Shelf & Hooks is a versatile and decorative storage solution for your craft room, bedroom, garage, living room, office, hallway, and more. The set includes 4 pegboard wall hanging displays in a square, white design. These pegboards can be used to store small items like keys, headphones, toys, photo albums, cups, mini plants, and sticky notes. With adhesive wall panel kits, there's no need to drill or cause surface damage. The HGYZE wall hanging organizer comes with 4 wall shelves, 8 hanging boards, and 24 hooks for all your organizational needs. It offers a wide range of DIY combinations and can be easily expanded by adding more pegboard wall organizers. Overall, this product is highly rated by customers and offers a stylish and practical solution for organizing your space.
Key Features
- Includes 4 pegboard wall hanging displays
- Decorative Ledges Organizer for small items
- Adhesive Wall Panel Kits for easy installation
- Wide Range of DIY Combinations
- Suitable for various spaces
- Expandable with additional pegboard wall organizers
Specifications
- Color: White
- Dimension: 8.66Lx8.66Wx0.59H
- Size: 8.66D x 8.66W x 0.59H in
Pros
- Stylish and versatile storage solution
- Easy to install with adhesive wall panel kits
- Plenty of storage space
- Expandable and customizable
- Durable and sturdy design
Cons
- Stickers for wall attachment may not be strong enough
- Some customers experienced broken or cracked pieces
- Not suitable for renters as it may damage paint and drywall
The HGYZE Peg Boards for Walls with Shelf & Hooks is a great choice for those in need of stylish and functional storage. Its decorative design and versatile organization options make it suitable for various spaces, from craft rooms to bedrooms, garages, and offices. The adhesive wall panel kits ensure easy installation without drilling or surface damage. With plenty of storage space and expandable capabilities, this product allows you to customize and adapt it to your needs. While some customers experienced issues with the stickers and broken pieces, overall, this pegboard set offers a practical and attractive solution for organizing your belongings.

Overall Score: 8/10
Say goodbye to clutter and disorganization with Sauder Craft Pro Series Craft Tower Cabinets. Featuring a swivel base with storage on all sides, pegboard back and corkboard panel, two storage drawers with full-extension slides, and metal trays for additional storage, the Craft Tower Cabinets offer flexible storage options for all your craft supplies. Its sleek white finish and adjustable shelves add to its appeal, making it a perfect fit for any craft room.
Key Features
- Swivel base with storage on all sides
- Pegboard back and corkboard panel
- Two storage drawers with full-extension slides
- Two adjustable shelves for flexible storage options
- Metal trays for additional storage of your craft supplies
Specifications
- Color: White Finish
- Dimension: 23.50Lx17.88Wx57.80H
- Size: L: 60.00" x W: 30.00" x H: 35.98"
- Unit count: 1
Pros
- Sturdy and heavy
- Easy to assemble
- Flexible storage options
- Great use of space
- Includes pegboard and corkboard
- Two storage drawers with full-extension slides
Cons
- Difficult to move without sliders
- Packaging needs improvement
- Price point could be lower
Sauder Craft Pro Series Craft Tower Cabinets provide an excellent solution for craft room organization with their attractive design, flexible storage options, and high-quality materials. The Craft Tower Cabinets are ideal for individuals looking for a piece of furniture with a small footprint that maximizes storage space and provides a clutter-free workspace. Although the assembly process can be time-consuming, Sauder Craft Pro Series Craft Tower Cabinets are a worthy investment for their many features and durable construction.

Overall Score: 7.6/10
The Winsome Halifax Storage/Organization unit is a versatile storage solution with seven drawers for easy accessibility. Made of solid and composite wood, this unit comes with four casters, two of which have a locking mechanism. It is perfect for use in various settings such as home offices, kitchens, craft rooms, or children's rooms. While the drawers may be shallow, they provide ample storage space for organizing your belongings. The assembly process is straightforward, taking around 1.5 hours. Overall, it is an aesthetically pleasing storage cabinet that offers good value for its price.
Key Features
- Full assembly required
- Constructed of solid and composite wood
- 4 casters total | 2 casters with locking mechanism
- Ideal for home office, kitchen, craft room, or child's room
Specifications
- Color: White
- Dimension: 19.21Lx16.00Wx35.38H
- Size: 7 drawer
- Unit count: 1
Pros
- Versatile storage solution
- Easy assembly process
- Aesthetically pleasing design
Cons
- Shallow drawers
- Limited drawer depth for certain items
- Instructions could be better
The Winsome Halifax Storage/Organization unit offers a cost-effective and visually appealing storage solution. While the shallow drawers may not accommodate all items, they provide sufficient space for organization. The assembly process, although time-consuming, is relatively straightforward. However, improved instructions would be beneficial. Overall, this storage unit is a good value for those seeking a stylish storage option for their home office, kitchen, craft room, or child’s room.

Overall Score: 7/10
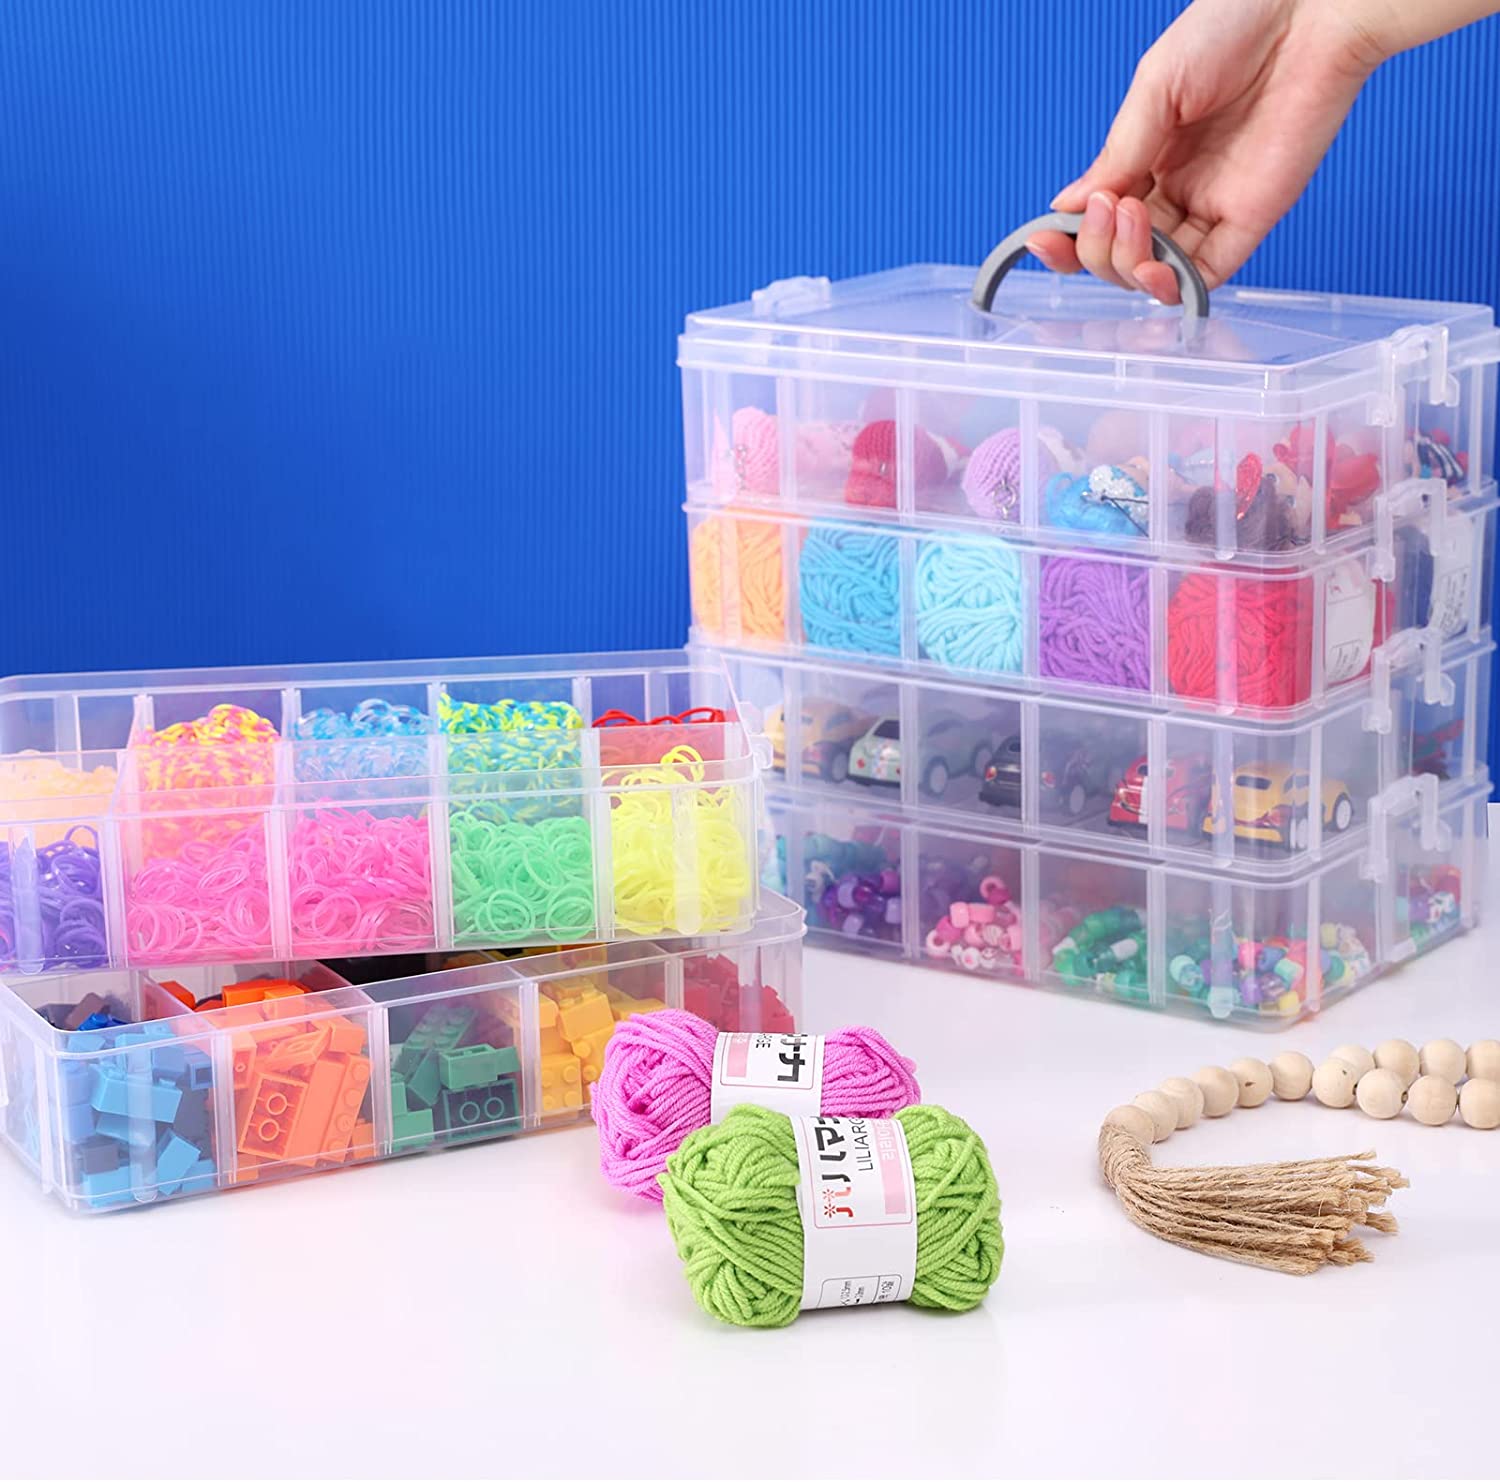
The Akro-Mils 10144 44 drawer cabinet is a versatile storage solution for any item that requires organization. With a rugged, high impact polystyrene plastic frame, and 44 drawers, it is ideal for storing classroom or office supplies, crafts, beads, sewing supplies, hardware, Lego, small toys, fishing gear, and more. The large and small dividable drawers make it easy to customize your storage configuration, with dividers included to separate drawers into multiple compartments. The cabinets are stackable and wall mountable, providing flexibility for any use case. Reviewers praise the suitability and sturdiness of the cabinet, with some noting the drawer edges are rough and flashings will require attention before usage and that additional dividers would be useful. Overall, this cabinet is a good investment for those who require storage for small items.
Key Features
- Rugged, high impact polystyrene plastic frame and 44 drawers
- Stackable, wall mountable
- Dividable drawers with dividers included
- Great for storing and organizing small items
Specifications
- Color: Black
- Dimension: 15.99Lx19.99Wx6.99H
- Size: 20-Inch W x 6.37-Inch D x 15.81-Inch H
- Unit count: 1
Pros
- Divisible drawers with dividers included
- Large and small drawers offer versatility
- Stackable and wall mountable
Cons
- Requires additional dividers for larger compartments
- Drawers have rough edges and flashings
- Expensive compared to other similar products
The Akro-Mils 10144 cabinet is a versatile, customizable storage solution, ideal for small items. While it is more expensive than other similar products, it is durable and stackable, which offers flexibility to customize the storage configuration used. Those requiring the cabinet for holding larger items will likely need additional dividers.

Overall Score: 7.5/10
The SPACEKEEPER Slim Rolling Storage Cart is a versatile and convenient solution for organizing your home. With its adjustable 3-layer design, this cart easily fits in narrow spaces, making it perfect for bathrooms, kitchens, garages, closets, laundry rooms, offices, and more. It features easy maneuvering with side hoops and heavy-duty casters, allowing you to move it around with ease. The cart is well-constructed, sturdy, and durable, ensuring years of use. Its humanized design and plastic surface make it blend seamlessly with any decor. The quick installation process saves you time and maximizes space utilization. Overall, this rolling storage cart is ideal for small spaces and budget-conscious individuals.
Key Features
- Adjustable 3 Layer Storage Cart
- Easy Maneuvering with Side Hoops
- Flexible Shelves & Heavy Duty Casters
- Humanized Design & Versatile
- Quick Installation
Specifications
- Color: White
- Dimension: 5.10Lx15.75Wx24.00H
- Size: 24*15.75*5.1 in
Pros
- Adjustable shelves fit in narrow spaces
- Easy maneuvering with stable wheels
- Durable construction for long-term use
- Blends well with any decor
- Quick and easy installation
Cons
- Not as sturdy as desired
- May not fit taller bottles
- Plastic material is not very sturdy
The SPACEKEEPER Slim Rolling Storage Cart is a practical and affordable solution for those seeking to maximize space utilization in their homes. It offers adjustable shelves, easy maneuverability, and a durable construction. While it may not be the sturdiest option available and may have limitations in terms of bottle sizes, it excels in its ability to fit in narrow spaces and blend seamlessly with any decor. With quick installation and a budget-friendly price tag, this cart is a great choice for small spaces and individuals looking to organize their homes without breaking the bank.
Buyer's Guide: Craft Room Organizers and Storage
Organizing your craft room is the key to unlocking your creativity and maximizing your productivity. With the right organizers and storage solutions, you can find materials easily, keep everything in its place, and create an environment that sparks inspiration. In this buyer's guide, we'll explore a wide range of craft room organizers and storage options that will help you transform your space into a haven of artistic expression.
Read also: 10 Best Craft Storage Cart For 2024
Craft Room Organization Essentials
Before diving into specific organizers, let's take a look at some must-have essentials for any craft room:
- Shelving Units: Utilize vertical space by investing in sturdy shelving units that can accommodate different sizes of storage containers and materials.
- Storage Bins & Boxes: Opt for a variety of storage options like clear plastic bins, fabric-covered boxes, or stackable containers for keeping different craft supplies sorted and easily accessible.
- Pegboards: Hang a pegboard on the wall to provide customizable storage for tools, scissors, ribbons, and other frequently used items. Use hooks, baskets, and shelves to keep things within reach.
- Label Maker: A label maker is a handy tool to create clear and consistent labels for all your storage containers, ensuring you can find exactly what you're looking for with ease.
- Portable Carts: With wheels and multiple shelves or drawers, portable carts can be moved around the room to provide additional storage while keeping your supplies within arm's reach.
Organizers for Different Craft Supplies
Now, let's explore craft-specific organizers and storage solutions that cater to different types of craft supplies:
- Yarn and Thread Organizers:
- Yarn Bowls: Keep your yarn tidy and prevent tangling by using a yarn bowl, a beautifully crafted bowl with a hole that allows you to pull the yarn easily.
- Thread Racks: Display and organize your thread collection on wall-mounted or tabletop racks, ensuring easy identification and access.
- Paper Sorters: Sort and categorize your various paper types and sizes by using vertical or horizontal paper sorters, shelves, or magazine holders.
- Scrapbooking Totes: Opt for a durable tote with pockets specifically designed to store and transport scrapbooking papers, tools, and embellishments.
- Brush Holders: Utilize brush holders, cups, or jars to keep your paintbrushes organized and prevent them from getting damaged.
- Paint Racks: Use paint racks or revolving carousels to store your paint bottles or tubes in an organized manner, making colors easily identifiable.
- Fabric Cubbies: Store your fabric collection in fabric cubbies, bins, or baskets, sorted by color or pattern, allowing for easy visibility and selection.
- Quilt Racks: Hang quilt racks or quilt hangers on the wall to display your beautiful quilts while keeping them organized and wrinkle-free.
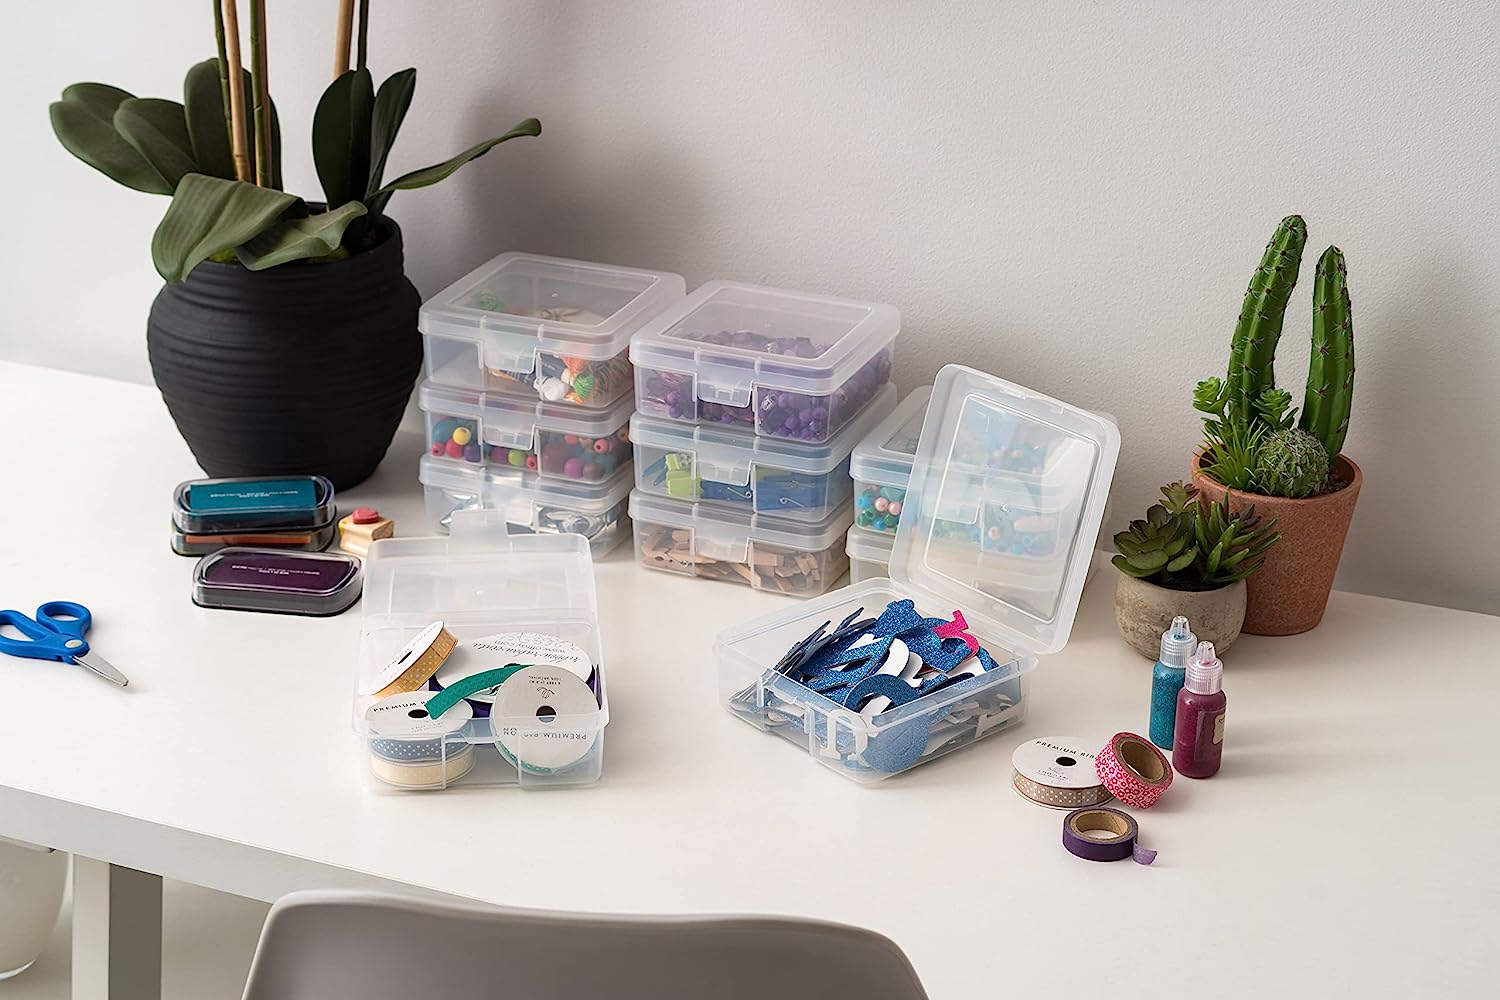
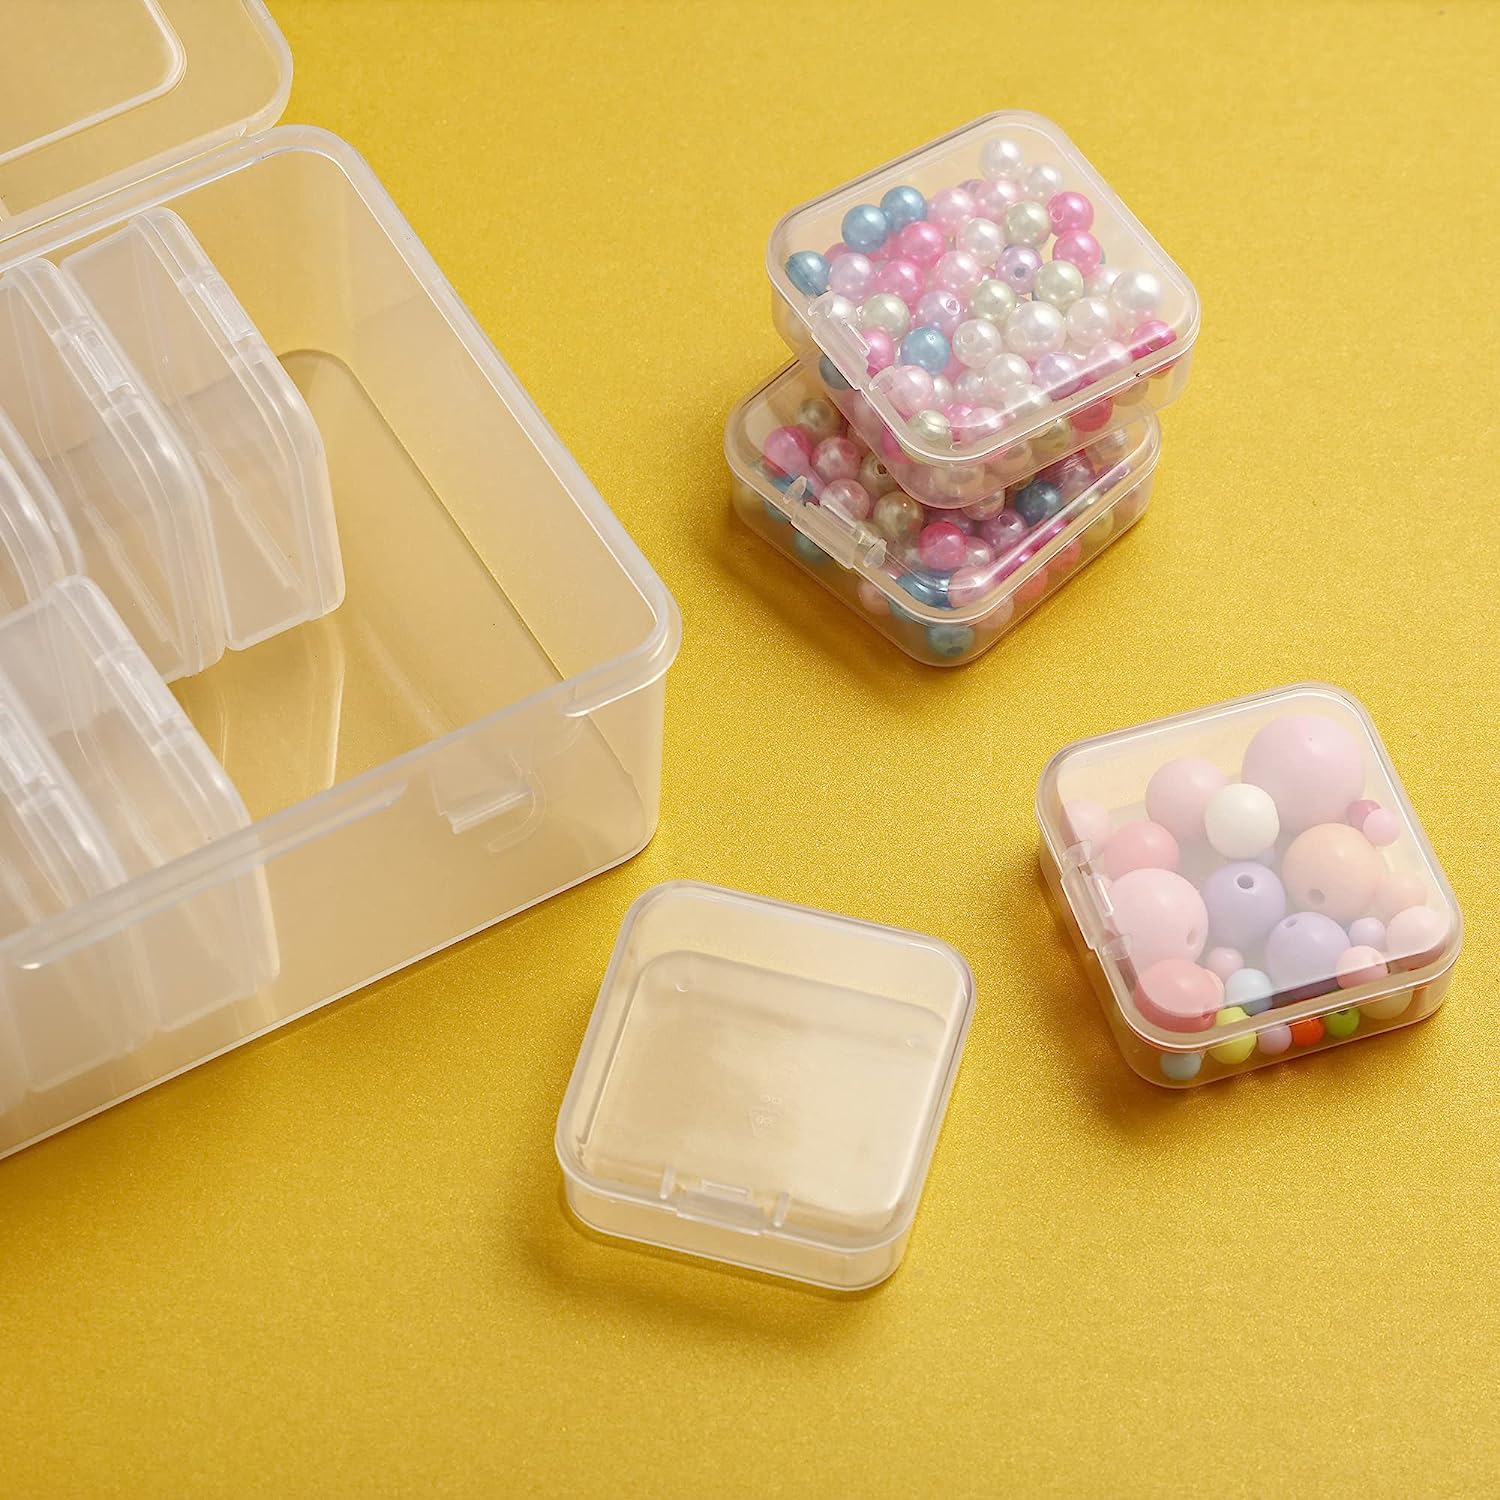
- Bead Containers: Use small compartmentalized containers or bead organizers to store beads, charms, and other tiny embellishments.
- Craft Drawer Units: Invest in drawer units with varying-sized drawers to keep small embellishments, such as buttons, ribbons, and sequins, sorted and accessible.
Frequently Asked Questions about 10 Best Craft Room Organizers And Storage For 2024
Consider the type and quantity of supplies you have, the available space in your craft room, and your personal preferences for organization. Assessing these factors will help you make an informed decision.
Utilize vertical spaces with shelving units, pegboards, and wall-mounted organizers. Invest in portable carts to keep supplies at hand while being movable.
Yes, there are specialized storage solutions available, such as rolling storage carts or cabinets with adjustable shelves to accommodate larger equipment.
Regularly declutter your craft room, discard unused or unwanted items, and maintain a consistent organizational system. Consider having designated spaces for each type of supply.
Use decorative storage containers, choose organizers that match your craft room’s theme or color scheme, and display your supplies in an artistic manner using open shelves or glass jars.
Was this page helpful?
Trust Storables.com for unbiased and honest product reviews. Our reviews are rigorously assessed by our Expert Board Contributors and adhere to strict Editorial Standards. We ensure that each review is transparent and trustworthy, helping you make informed purchasing decisions.

0 thoughts on “10 Best Craft Room Organizers And Storage For 2024”